The Pre-Listing Photo Checklist Every Toronto Agent Should Run Before Shoot Day
10/24/2026
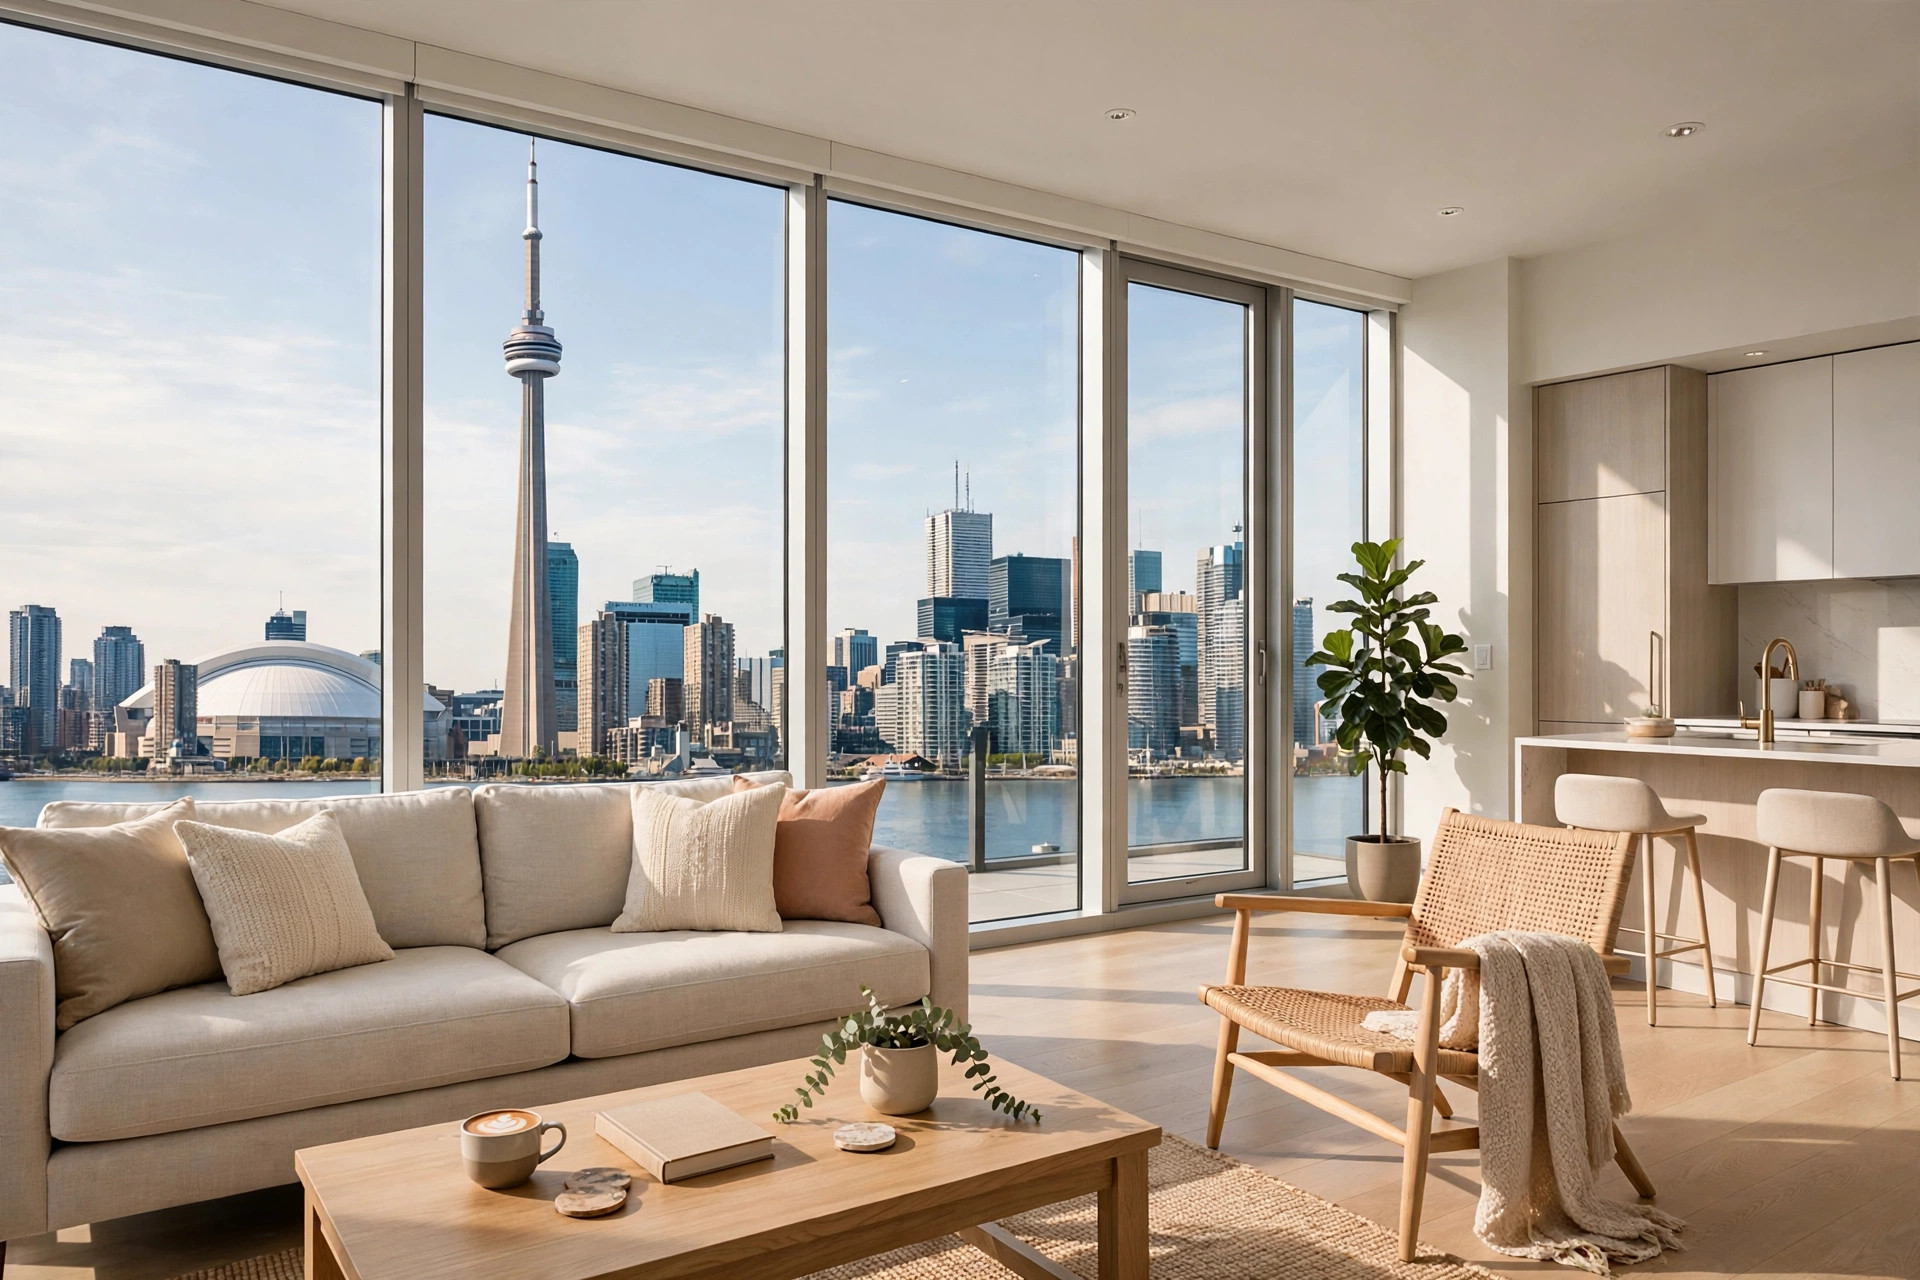
Most Toronto listings are photographed exactly once. There is no second shoot day, no reshoot budget, and no do-over when the photos hit MLS and the first 48 hours — the window when a listing gets most of its views — are already gone. That means everything that makes or breaks the photos has to happen before the photographer walks through the door.
Here is the uncomfortable truth agents learn the hard way: the camera does not fix a house. It records it, honestly and in high resolution. Every unmade bed, every cluttered counter, every burnt-out bulb and crooked blind shows up in the final gallery, and buyers read all of it as information about the property. A pre-listing photo checklist is not fussiness. It is the cheapest marketing you will ever do for a listing, because it costs an hour of preparation and it shows up in every single photo.
Run this checklist before every shoot day, in this order, and your photographer can do what you actually hired them for: sell the house, not document its chores.
Start Outside: The First Photo Is the Front Door
Buyers meet the property at the curb, and so does the camera. The exterior shot is usually the lead photo, which means it is the thumbnail, the first impression, and the image every other photo gets judged against. Walk the front of the property the way a photographer will see it, not the way you walk up to it every day.
Move the cars off the driveway and out of the frame. Hide the garbage and recycling bins around the side of the house. Clear the porch of boots, parcels, and the welcome mat that has seen better decades. Sweep the walk, tidy the garden beds, and put the hose away. If the lawn needs a cut, cut it the day before, not the morning of — fresh clippings on the driveway photograph worse than slightly long grass.
Check the details people stop noticing in their own homes: a crooked house number, a porch light full of dead insects, a screen door that hangs half open. Fix the cheap things. A bulb in the porch fixture and a straightened number plate are invisible in the photo, which is exactly the point — nothing in the frame should compete with the house itself.
Declutter Ruthlessly, Then Declutter Again
Real estate photography is wide-angle photography, and wide angles are merciless. A lens that captures a whole room also captures every magnet on the fridge, every bottle on the bathroom counter, and every cable trailing from the television. What feels like "lived-in charm" in person reads as clutter on screen, and clutter reads as "small" — the one word no Toronto listing can afford.
Clear every horizontal surface to near-empty. Kitchen counters keep one styled item at most: a bowl of fruit, a vase, a cutting board. Bathroom counters keep nothing. Nightstands keep a lamp and a book. Coffee tables keep one book or one tray. Everything else goes into a box, into a car boot, or into a room that will not be photographed — and yes, that includes the fridge front, the kids' artwork on the walls, and the pile of mail by the door.
Then do a second pass specifically for personal items. Family photos, diplomas, religious items, political material, prescription bottles, anything with a name on it: pack it away. This is not just about clean photos. Buyers need to picture their own life in the space, and they cannot do that while staring at someone else's. Depersonalizing is the single fastest way to make a room feel bigger in a photograph.
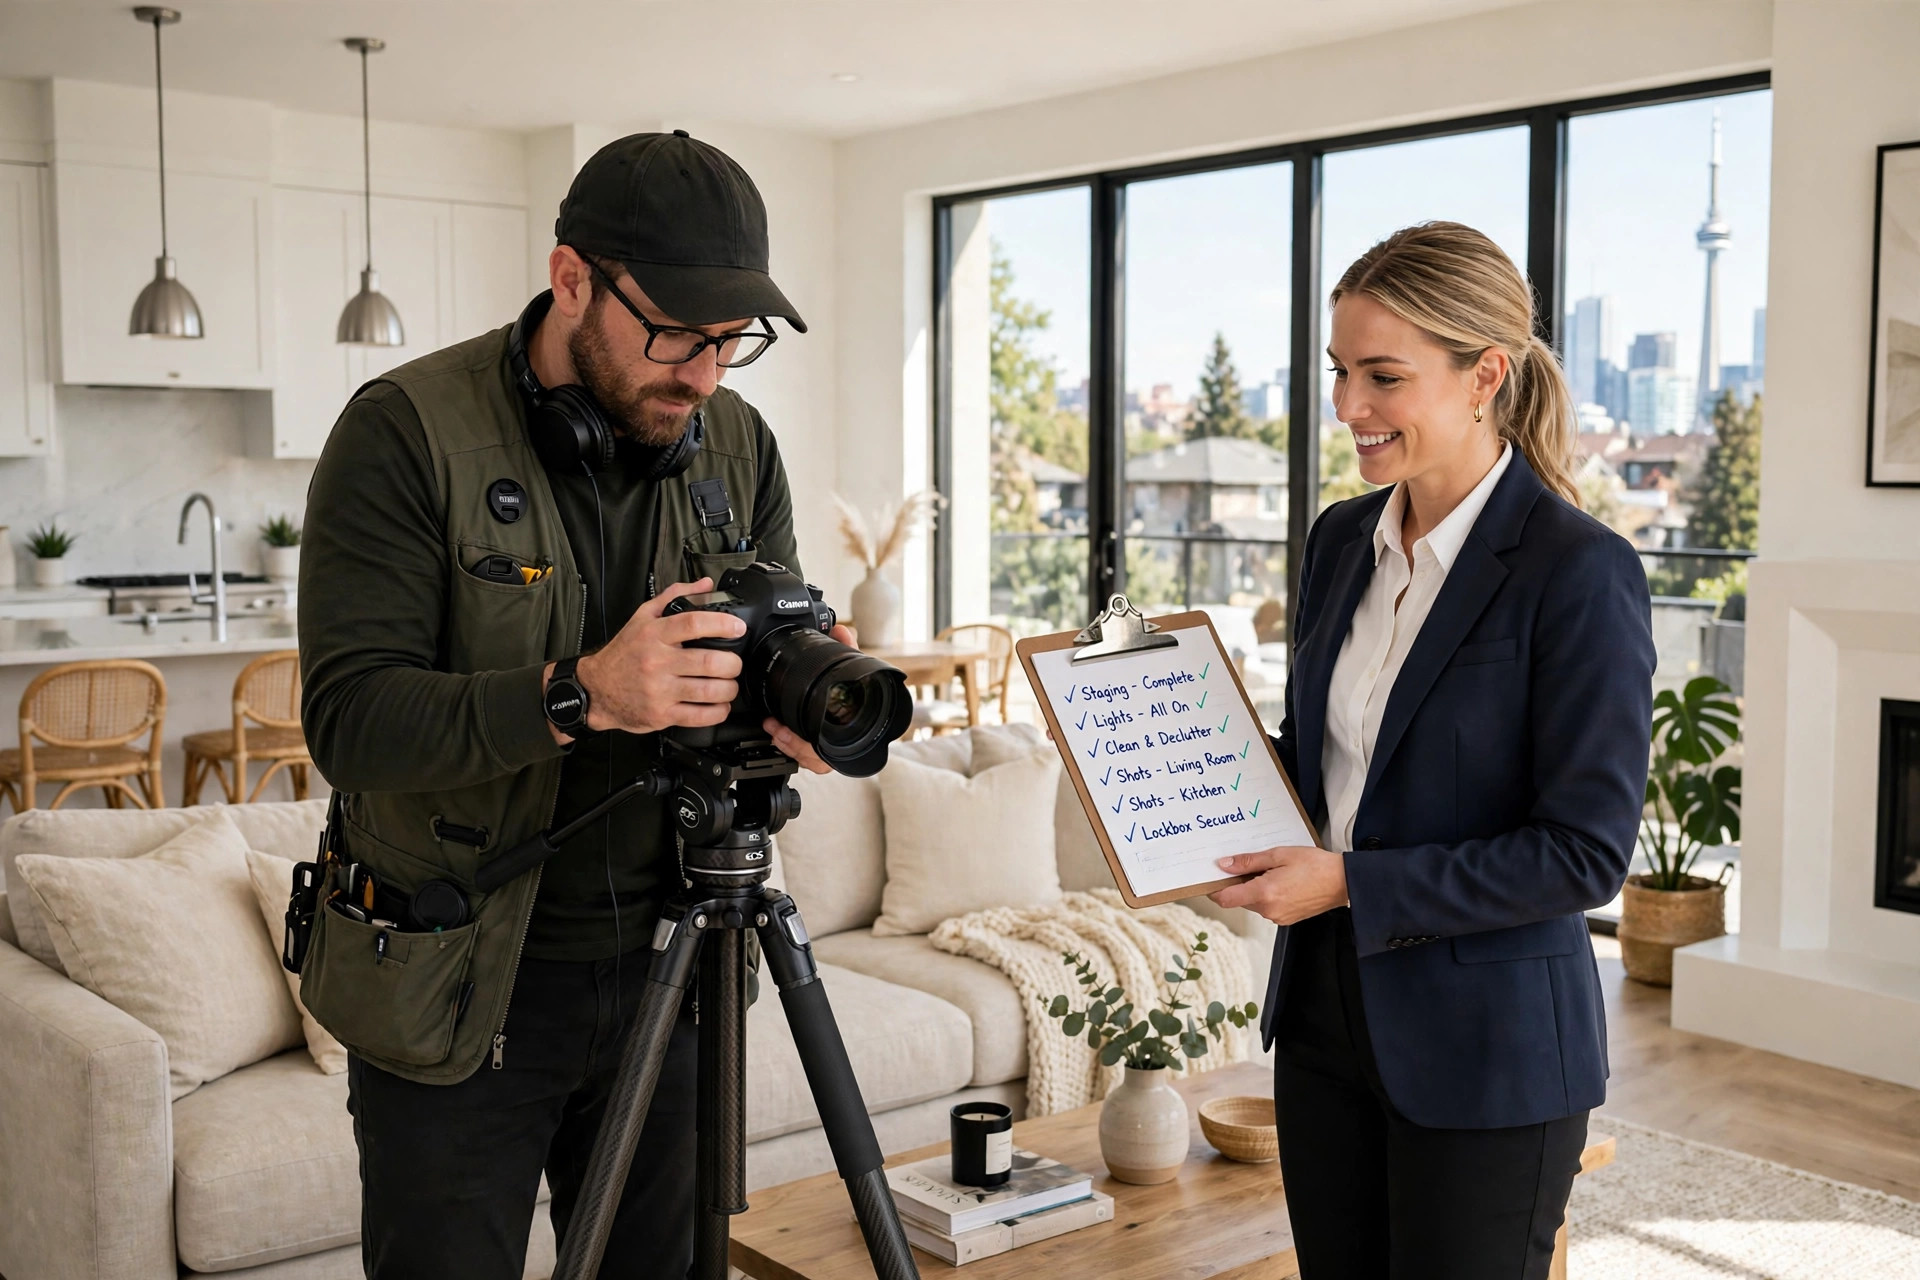
Light Is a Checklist Item, Not a Hope
Photographers bring lights, but no flash fixes a house full of dead bulbs and mismatched colour temperatures. Do a bulb audit before shoot day, room by room, and replace anything burnt out. Then — and this matters more than most agents realize — make every bulb in a room the same colour temperature. Warm white throughout, around 2700K. One daylight-blue LED in a sea of warm lamps will fight the rest of the room in every photo, and it cannot be fully corrected afterward.
Open every blind and curtain, and clean the glass on the windows that matter most. Toronto condos sell on light and view, and a smudged window turns a skyline shot into a haze. If a window faces a brick wall or a parking lot, the blinds can stay half-drawn for privacy, but the main living-area windows should be open and clean. Check for broken blinds, bent slats, and curtains that hang unevenly — the camera catches all of it at eye level.
Turn on every light before the photographer arrives, including lamps, under-cabinet lighting, and bathroom sconces. A lit room photographs warm and inviting; a room lit only by the photographer's flash photographs flat. And while you are at it, check the mirrors. A smudged mirror doubles every flaw in the room, and a mirror that catches the photographer is a reshoot.
Stage for the Camera, Not for Living In
Staging for photography is different from staging for a showing, and the difference is the lens. A room that feels cosy in person can photograph as cramped, because the camera flattens depth and exaggerates whatever sits closest to it. Pull furniture a few inches off the walls. Angle the sofa slightly toward the light. Remove one piece of furniture from any room that feels full — the chair nobody sits in, the side table that blocks the walkway, the oversized plant that eats a corner.
Make the beds properly, with the good bedding, and fluff every pillow and cushion. A rumpled bed is the most common avoidable flaw in listing photos, and it is entirely a morning-of problem. In the kitchen, hide the dish rack, the sponge, and the small appliances that live on the counter. In the bathroom, hang fresh white towels, close the toilet lid — every time, no exceptions — and remove the bath mat, the laundry basket, and the shower caddy.
Then add back one intentional touch per room, and only one. Fresh flowers on the dining table. A folded throw on the sofa. A cookbook open on the kitchen island. These touches give the camera something human to land on without giving it clutter to trip over. If you cannot decide whether an item helps, take it out. The camera will not miss it, and the room will breathe better without it.
Walk the Shoot Order Before the Photographer Does
Photographers shoot in an order, and a good agent knows it before they arrive. Typically: exterior first while the light is right, then the main living spaces, then kitchen, bedrooms, and bathrooms, then any feature spaces — finished basement, terrace, balcony, home office. Walk that exact route the evening before shoot day and fix what you find, room by room, in that order.
Check the floors last, because floors are what the camera looks down at in every wide shot. Vacuum carpets, mop hard floors, and hide the pet beds, food bowls, and litter boxes entirely — not in the next room, out of the house for the shoot if possible. Pets themselves should be out of the house during the shoot. A dog in the background of a living-room photo is charming exactly once, and then it is a distraction in the listing's best image.
Finally, check the sightlines. Stand in each doorway the photographer will shoot from and look at what the lens will see: the hallway beyond, the room behind the open door, the reflection in the glass. Close doors to rooms that are not ready. Open doors to rooms that are — an open door adds depth to a photo, a closed one adds a wall. Small decisions, made from the doorway, are what separate a gallery that flows from one that stumbles.
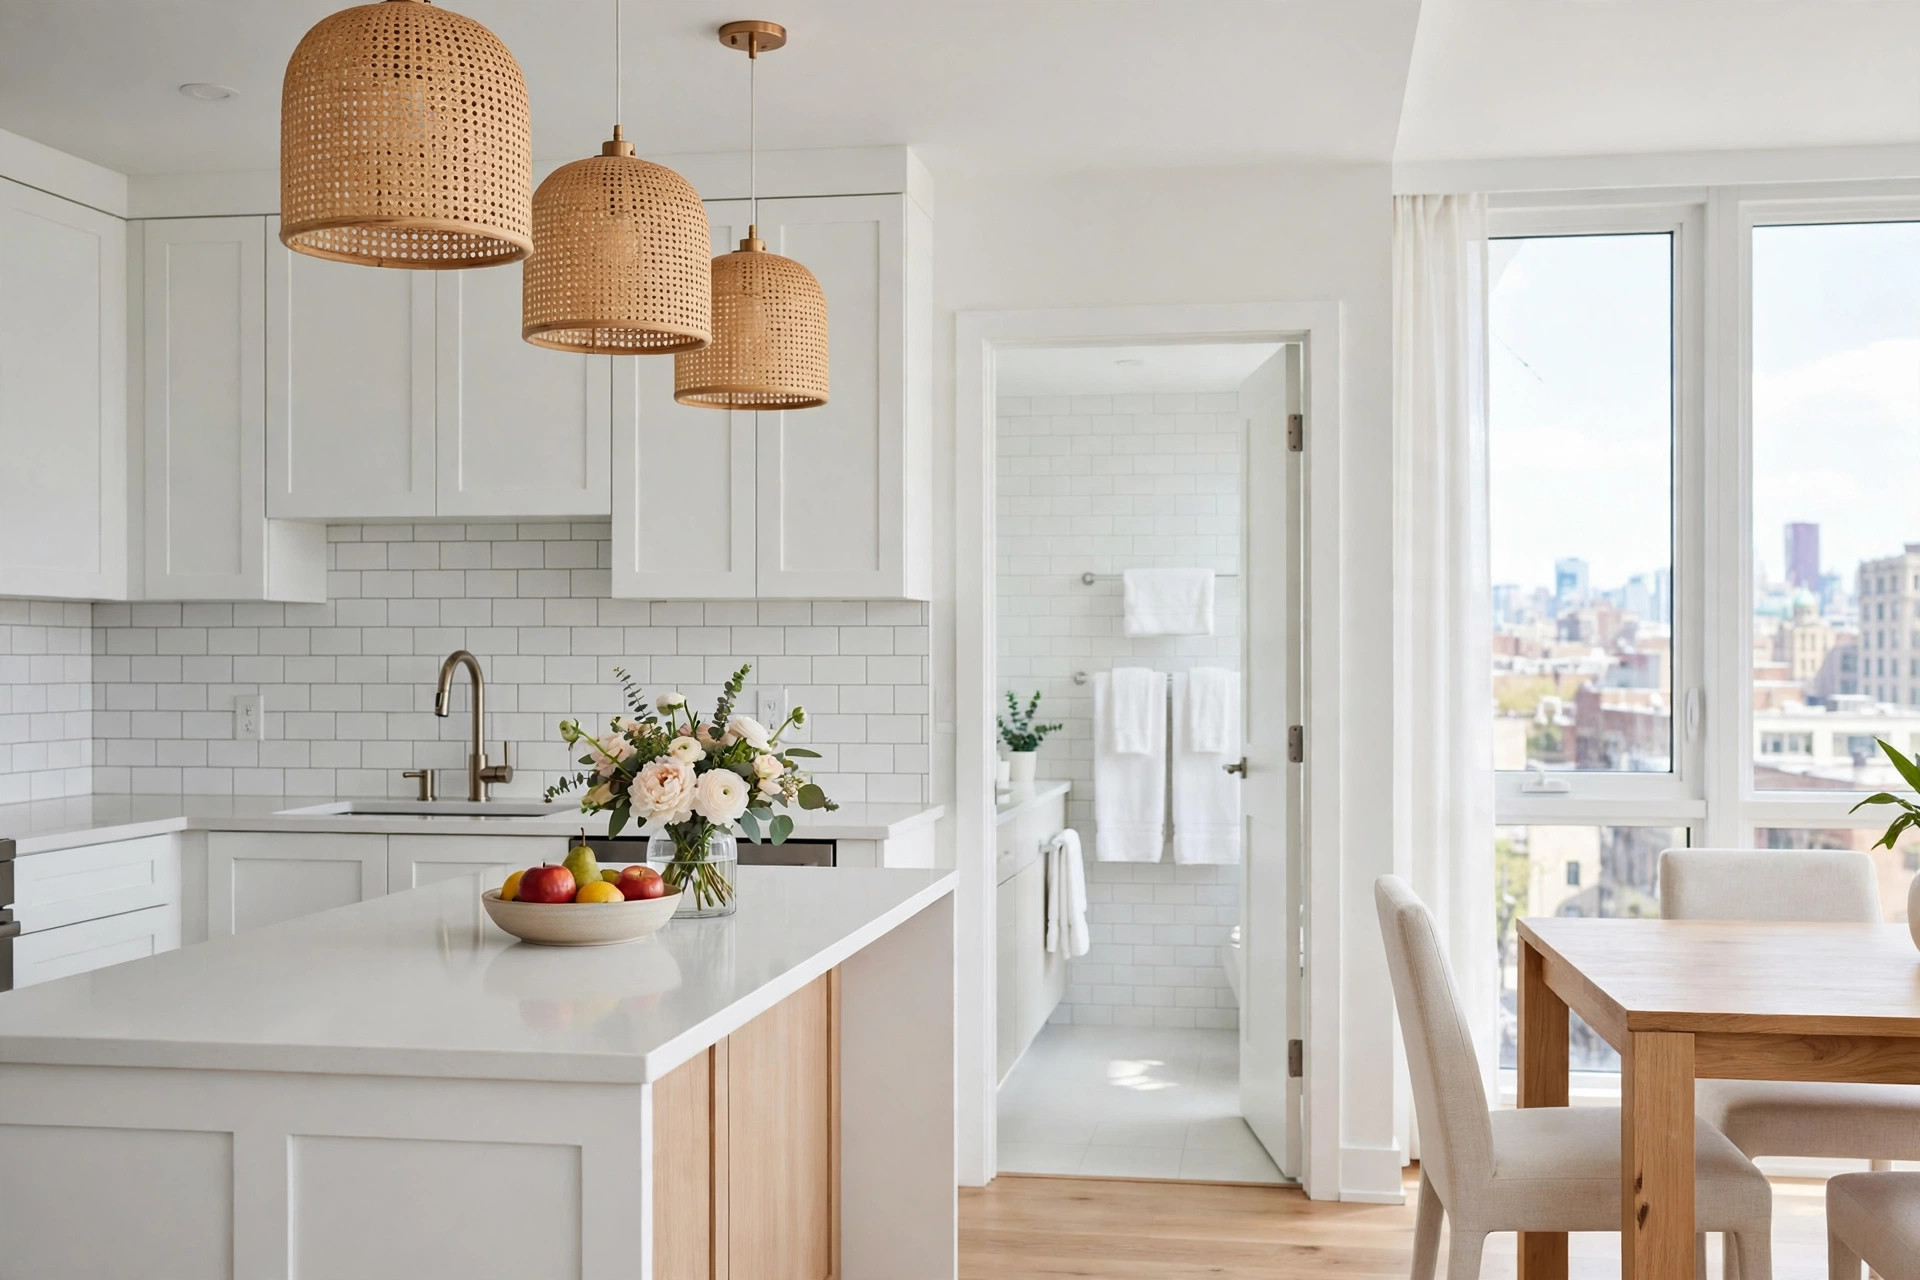
The Morning-Of Routine: Thirty Minutes That Save the Shoot
No matter how good the evening prep was, shoot morning needs its own pass. Houses get lived in overnight, and overnight is exactly long enough for a kitchen to fill up again. Build thirty minutes into the morning before the photographer arrives and run it like a drill.
First, lights on, blinds up, toilet lids down, beds made. Second, a fast counter sweep: anything that appeared overnight goes back in its box. Third, a floor check and a final exterior glance — bins still hidden, cars still moved, porch still clear. Fourth, hide yourself: the agent's bag, the lockbox keys, the "for sale" paperwork, all out of frame. Photographers should never have to ask an agent to move their own things; that is time stolen from the light.
Then get out of the photographer's way. The best thing an agent can do during a shoot is be reachable but absent — nearby for questions about which rooms matter most, not trailing the photographer from room to room. A shoot runs faster, the light holds longer, and the photographer can work the angles without an audience. Thirty minutes of prep in the morning buys back an hour of shooting, and an hour of shooting buys the gallery that sells the house.
Why This Checklist Pays for Itself
None of this costs money. It costs attention, and it returns in the only currency that matters in Toronto real estate: clicks, saves, and showings in the first week. A listing photographed clean, bright, and depersonalized does not just look better — it photographs larger, and in a market where a downtown condo's square footage is its price, perceived space is real money.
Agents who run this checklist consistently notice something else, too: their photographers get faster, their galleries get more consistent, and their listings stop needing price drops to get attention. The photos are not the marketing afterthought. They are the marketing. Treat shoot day like the launch it is, prepare for it like one, and the camera will do the rest.
Book the shoot. Run the checklist. Then let the photos do the selling.